Last Updated on April 20, 2026 by Johann Holsinger
Need TVs for classrooms?
Modern interactive learning has taken over classrooms. The onset of the pandemic has paved the way for hybrid classes, extending the need for LED screens in more classrooms as possible.
We love how this addition excites students, especially educators. It challenges teaching methods and tickles creativity next to the whiteboard.
Combining digital technology with the usual whiteboard setup, classes have never been more fun and engaging.
Imagine where you can incorporate modern visuals into your daily lessons. The plain class setup becomes more lively while boosting interactions.
But where and how do you put the monitors in a confined space like a classroom?
Are you supposed to replace the whiteboard?
How can you use the whiteboard when there is a TV screen? This is where the dilemma comes in.
No worries. We’ve got your back. In this article, we’ll suggest solutions to your problem of mounting a TV in a classroom setup.

The right TV size for the classroom
If your school hasn’t bought a television yet, it’s the perfect time to analyze the right size for your classroom.
When choosing the right size of the TV, you must consider the seating arrangement, viewing distance, and room dimensions.
As a general rule, a smaller room will need a smaller TV.
However, the monitor should be large enough so the students can view the screen from the furthest position without straining their eyes.
Ensure there is enough space from the TV to the student’s position.
If the room dimensions allow, larger screens will provide a more interactive experience and greater readability.
The problem with smaller TVs is that students may not read the text clearly from the back.

Balancing the viewing angle from the position of students
Having a balanced viewing angle from the sides and the back is crucial for student’s learning.
The seats and desks in classrooms are designed to view the whiteboard with full coverage and accommodate the height of the students. For this reason, the most ideal position of the television is at the center of the viewing height.
Viewing height is the position of the screen relative to the viewer’s eye level.
However, placing the TV at the center will use up the space on the whiteboard during discussions and manual instructions.
For this reason, you need a flexible mounting option where the teacher can move the television around to use the space while allowing the students to view the screen comfortably.
TV height for when children are sitting on the floor?
If installing a TV on the wall in a classroom where children are sitting down on the floor or mat, the TV center needs to be set just slightly above the center of the average viewing height.
This means that the TV will be mounted closer to the ground to accommodate the lower position of viewing.
Other things to consider
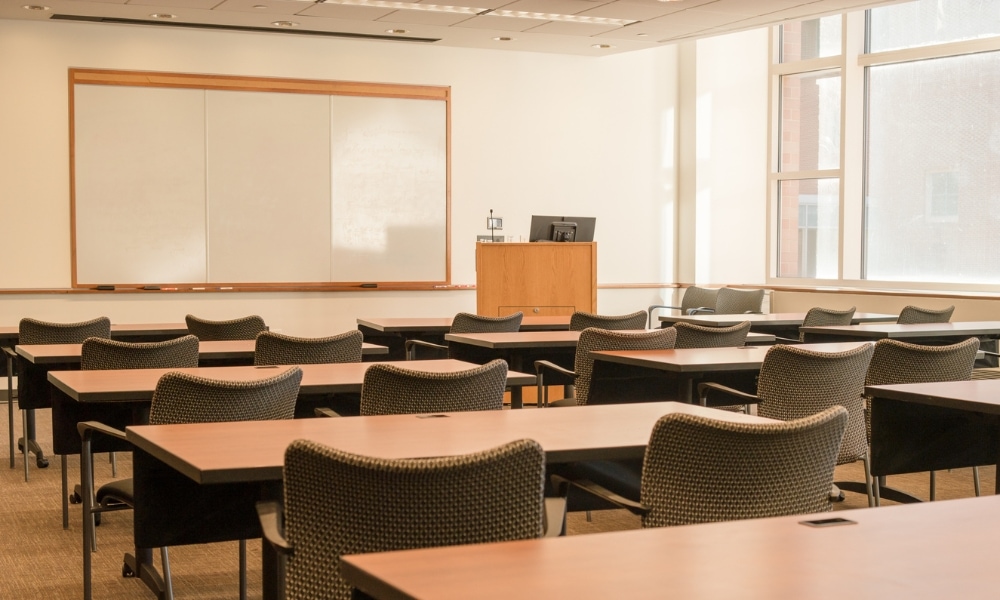
Mounting a TV in the classroom is different from installing it in any room at your home. For this reason, you have to consider more things before drilling holes in the wall.
1. Outlets
Classrooms will have different positioning of outlets. Some rooms have them on the side of the front board, while some classrooms have one in the center.
Either way, you need to ensure that the TV will have access to an electrical outlet, including attachments like HDMI and Optical, for laptops or other electrically-powered equipment in the classroom.
2. Attachments
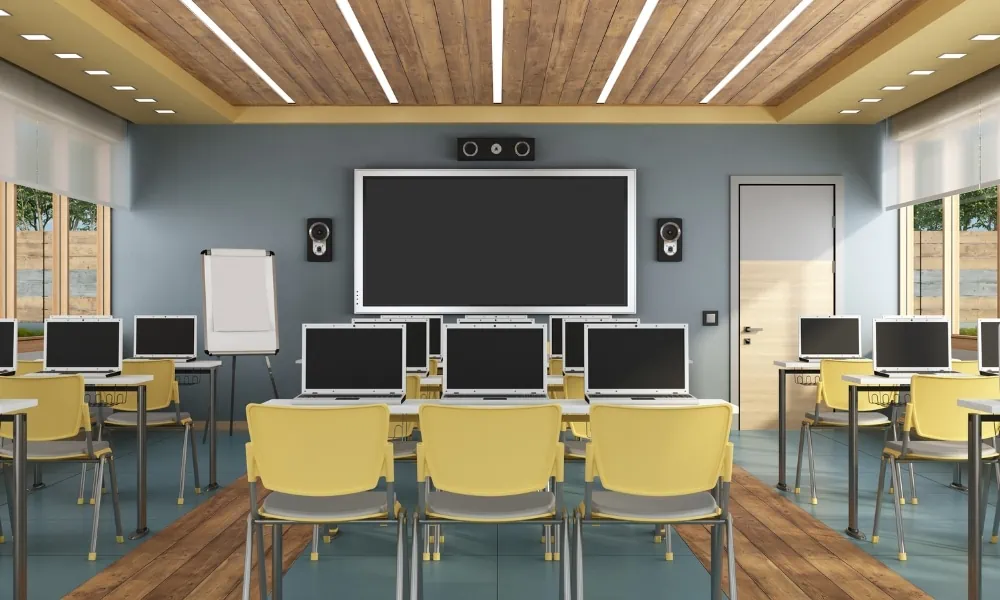
When mounting a monitor on a classroom wall, you will need space for other attachments that will equip teachers during classes.
These attachments can include laptops, cameras, document scanners, microphones, and audio systems.
3. Audio
The built-in speakers in TVs usually produce low sounds that are barely audible.
For this reason, you also have to consider placing soundbars or speakers that will boost the audio of presentations and videos that teachers prepare.
Options to mount a TV in a classroom
With all the factors you must consider when mounting a TV in a classroom, do you still have any options to mount a TV without compromising teaching methods and interaction between students?
Of course, there are.
Here are our recommended TV mounting options for a classroom setup.

1. Pull it down from above.
Install a TV bracket from the center above the whiteboard. Use the television only when needed, push the monitor up when not in use, and pull it down for presentations. This pull-down type of TV mount you’d usually install above the fireplace.
A fireplace drop-down mount has a distinct feature of swivel and vertical travel that is very useful for a classroom setup instead, as it adjusts for different heights for when children are on the floor and working from desks so that students dont get neck strain and bad posture.
It has an arm that can swivel and hold the brackets where the TV is attached. These bracket adaptors are extendable vertically.
In our database, the longest vertical distance traveled is about 31.5 inches from its mounted position.
That’s enough distance from the top of your whiteboard to the center height. From there, you can adjust the viewing angle depending on the model.
Some units have soundbar trays, so you will not have to worry about where to put the upgraded speaker system.
You can attach it neatly because most units have a cable management system.
Just a note: you must have an outlet nearby. We’d advise installing an in-wall cable management system to keep the whiteboard tidy from hanging wires and cables.

Why use a pull-down mount in a classroom set up?
- Ideal center viewing position from different seatings
- Flexible arms
- Clear the whiteboard when the monitor is not in use
- Adjustable viewing angle
Some things to consider before installing a pull-down TV mount
- More complex to install
- Pricey than extendable wall mounts
2. Use a trolley-type stand.
In this mounting option, you do not have to worry about drilling into the wall.
You only have to attach the TV to the bracket connected to the adjustable stand mechanism.
For this reason, you do not have to worry about viewing position because you can adjust and move the stand. From our database, some units of mobile TV stands can adjust the height by up to 30 inches. However, most of them do not swivel.
What we love about this type of television stand is you can move it around.
You can place it at the center when you need to use it and bring it back to the corner for future use.
This stand has lockable caster wheels that enable you to switch it from moving to a fixed position.
The TV stand comes with media shelves where you can place your laptop while conducting lessons.
Other units have camera shelves on top of the bracket. What makes this type ideal for classroom setup is it is specifically designed for presentations.
For this reason, you can use it for conferences and other school activities.

What do we love about the trolley-type television stand?
- Completely mobile
- Has lockable wheels
- Adjustable height
- Cable management
- Requires no drilling or structural modification
Limitations of mobile TV stand
- Will take floor space
- It won’t sit low enough for children sitting on the floor.
3. Pull it from the side.
If you have no idea, some TV wall brackets can extend to the left or right.
Since you will not install it from the center, you can install it on the side using an extendable TV mount.
The longest mount in our database could extend up to 47 inches from its position and retract to the wall by 4.5 inches.
These brackets are extra flexible. It can swivel, extend, and tilt.
By pulling it from the side and extending it to the center, the students can view the TV from any position or angle without compromising their comfort.
You can keep it on the side when not in use.
Among the list, this type of mounting is more practical.
Just a little advice: avoid installing the television on the side where the screen can catch the reflection from the window.

Reasons to install an extendable wall mount
- Adjustable viewing angles can remove light reflections
- Adjustable angles can temporally position the screen to different areas of the room
- Encourages interactive teaching
- Optimal viewing height can be set when installed
- Space efficient
A few issues you might encounter with extendable wall mount
- Some brackets may tilt out of level on full extension
We want TVs fixed on the wall. Can we do that?
You can use a fixed mount and install the TV from the side or at the center. If you install it from the side, students from the other side or farther will have limited coverage.
I’ve seen classrooms with this setup and it compromises viewership from the farthest seat and those from the opposite side.
If you install it in the center permanently, the TV will use up whiteboard space that can be used for manual lecturing.
It’s better to have the whiteboard in the center of the room and the TV mounted on the left side, angling towards the center of the room on a long-arm TV wall mount, as mentioned above.
For this reason, we recommend using TV mounts with the flexibility of also being pulled to the center of the whiteboard.

Do I have more options?
If you have a budget for each classroom, hide the TV in a cabinet.
Build a custom cabinet where you can store the TV inside when not in use and reveal it on a hidden slot through a pop-up mechanism.
You can do this on your teacher’s tabletop. However, this project will be pricier. You will need a qualified joiner to assist you.
Some brackets have a drop-down mechanism to hide the television from the ceiling.
They have a travel distance of up to 36 inches. However, this is not advisable if you have high ceilings and small classrooms.
Some brackets have a drop-down mechanism, where you can hide the television in a recessed area in the ceiling.
You can leave it there when not in use and flip it open with a wireless control when needed.
However, placing the TVs on the ceiling is highly discouraged since most seats in a classroom chairs or desks have lower seating heights, and the space is small. The setup will be uncomfortable for the students if they always have to look up.
Again, these options are not impossible, but they will cost more than extendable and pull-down TV mounts.
To sum it up
Mounting a TV in a classroom is not impossible.
Some classrooms today have interactive LED boards installed. Meaningful discussions and engagement with the help of visual graphics are becoming a necessity during classes.
Good thing that we have more ways to mount televisions, and classrooms can enjoy the benefits of visual learning.
In the end, the choice of TV mounting for architects and designers will pave the way to gear teachers and boost their instructional skills and teaching methods.
In return, students can easily pick up new information with graphic visual aids.
Placing TVs inside a classroom becomes a wise investment not only for the teachers and the students but for the school as well. Teaching methods become streamlined, and students learn faster through visual learning.